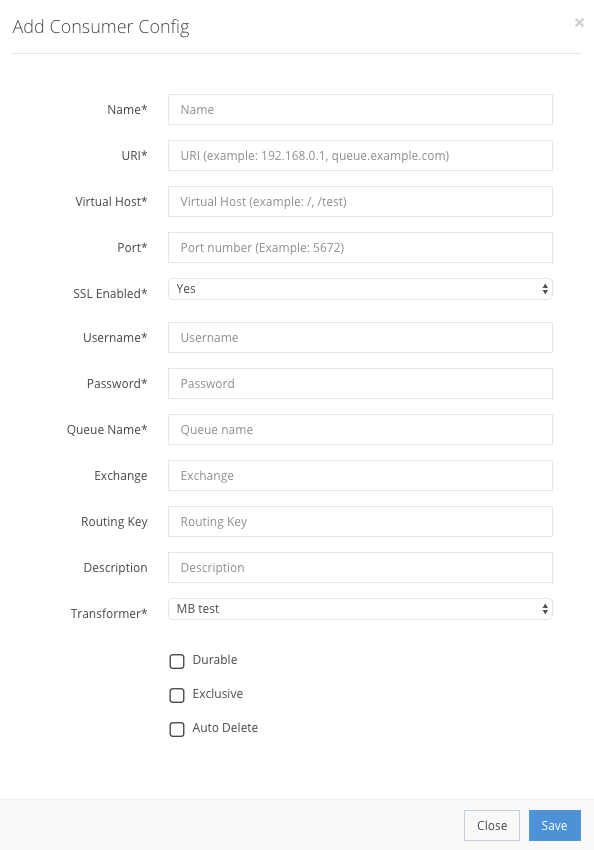
Press Add Consumer Config to get a new pop-up window where you enter the new event consumer’s information, as shown in the example below. Some fields are mandatory, others are optional for custom field creation.
Event consumer creation fields
Name StringMandatory| Enter a name that you can use to refer to this configuration. It is for display only. |
URI StringMandatory| Identifies the name and location of a file or resource in a uniform format. It includes a string of characters for the filename, and may also contain the path to the directory of the file. |
Virtual Host StringMandatory| For RabbitMQ, enter the name of the virtual host for the desired namespace. For Kafka, set this to CL. |
Port IntegerMandatory| Specify the port to use for the connection. |
SSL Enabled BooleanMandatory| Set to Yes to use an SSL connection. |
Username StringMandatory| Specify the username. |
Password StringMandatory| Specify the password. |
Queue Name StringMandatory| Specify the RabbitMQ queue name or the Kafka topic. |
Exchange StringOptional| Specify an option Exchange name for a RabbitMQ queue. |
Routing Key StringOptional| Specify the Routing Key for a RabbitMQ queue |
Description StringOptional| An optional description for this queue. |
Transformer ObjectMandatory| Selecting the transformer that was previously created in the Transformers sub-section. |
Durable BooleanOptional| The queue will remain after a broker restart |
Exclusive BooleanOptional| The queue is used by only one connection and the queue is deleted when the connection closes. |
Auto Delete BooleanOptional| The queue is deleted when the last consumer un-subscribes. |


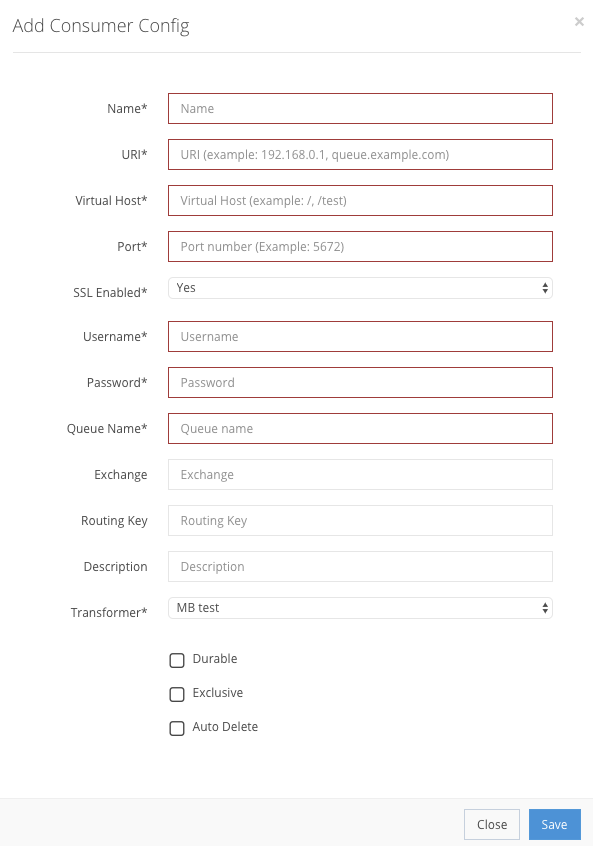
If information is filled out incorrectly, the information bar will be shown in red. If all the steps are correct, the Event consumer will be created in Settings → Event Consumers, as shown in the example. After creation, you can Edit the event consumer, or Start/Stop or Delete it from the list.
